
How to Use a Raspberry Pi 5 as a DAW and Video Editing Studio.
Disclosure: This post contains affiliate links. As an Amazon Associate, I earn from qualifying purchases. This comes at no extra cost to you, and it helps support the channel and site so I can keep making content like this.
🚀 Introduction
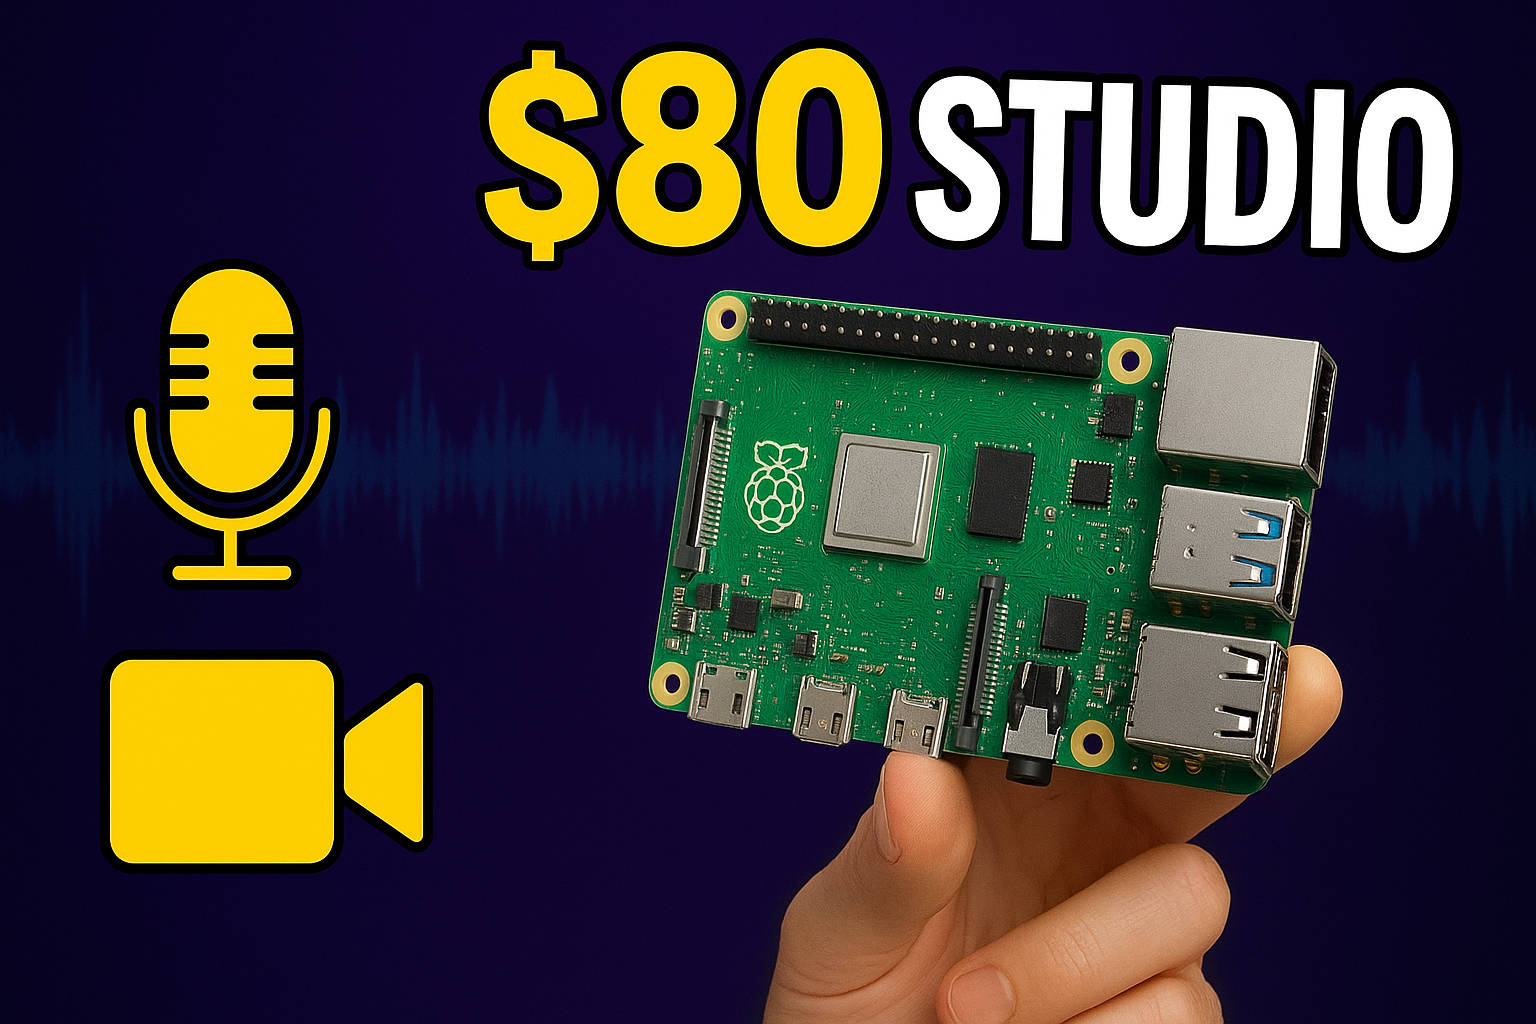
The Raspberry Pi 5 isn’t just a hobbyist board anymore — it’s powerful enough to handle real creative work. With the right setup, you can turn this $80 device into a fully functional digital audio workstation (DAW) and a video editing studio. Whether you’re recording podcasts, producing voiceovers, or editing YouTube videos with Kdenlive, the Pi 5 makes it possible to build a portable, affordable, and energy-efficient studio.
In this post, I’ll walk you through the benefits, setup, and the exact gear I’m personally using right now to build my Raspberry Pi 5 creative studio.
🎛️ Why Use Raspberry Pi 5 for a DAW & Video Editing?
-
Low Cost – For under $100, you have a computer capable of handling music and video editing.
-
Portable – Small enough to carry anywhere, making it perfect for creators on the go.
-
Open Source Software – Access to tools like Ardour (DAW), Audacity, and Kdenlive (video editing).
-
Energy Efficient – Consumes far less power than a traditional desktop or laptop.
-
Great for Learning – Perfect platform for understanding Linux audio/video production.
🎤 My Current Raspberry Pi 5 Studio Setup
Here’s my real-world setup that I use daily for recording and editing:
🖥️ Core Hardware
-
Raspberry Pi 5 (8GB RAM) – The heart of the studio, powerful enough for recording and editing.
👉 Check price on Amazon -
ViewSonic VA3209M 32″ IPS Monitor (1080p, 75Hz) – A large, bright, eye-friendly display makes editing smoother and less straining. The thin bezels are perfect for a clean desk setup.
👉 Check price on Amazon -
HLDIRECT 63″ Gaming Desk with LED Lights – Not only does it look great with ambient LED lighting, but it’s large enough to hold my monitor, Pi, mic, and all gear comfortably. Comes with a cup holder and headphone hook for a clutter-free workspace.
👉 Check price on Amazon
🎙️ Audio Recording Gear
-
Audio-Technica AT2020 (XLR Microphone) – My go-to condenser mic for voiceovers and recording. Crisp and professional sound at a budget price point.
👉 Check price on Amazon -
YOUSHARES AT2020 Shock Mount – Reduces vibration and desk noise, keeping my recordings clean. Essential for podcasting or YouTube work.
👉 Check price on Amazon -
AT2020 Boom Arm Stand with Pop Filter (SUNMON) – Sturdy and adjustable, with a pop filter to eliminate plosives (the “p” and “b” sounds). The included cable sleeve keeps my setup neat.
👉 Check price on Amazon
🔌 Audio Interface
-
Focusrite Scarlett Solo (4th Gen USB Audio Interface) – The interface I use to connect my AT2020 to the Raspberry Pi 5. The preamps are fantastic, sound is crystal clear, and it’s completely plug-and-play on Linux.
👉 Check price on Amazon
🎧 Headphones
While I rotate, here are two solid options that pair great with this setup:
-
Audio-Technica ATH-M40x – Balanced, affordable, and reliable for mixing/editing.
👉 Check price on Amazon -
Sony MDR-7506 – Lightweight, accurate, and trusted in countless studios worldwide.
👉 Check price on Amazon
💾 Storage
-
Samsung T7 Portable SSD – External SSD storage is a must for video editing and audio projects. I keep my active projects on this drive for smooth rendering and fast load times.
👉 Check price on Amazon -
SanDisk Extreme Pro microSDXC (64GB/128GB) – My Pi’s boot drive. One of the fastest and most reliable microSDs available.
👉 Check price on Amazon
🎤 Setting Up a DAW on Raspberry Pi 5
Let’s start with audio recording, since clean voice tracks are the foundation for podcasts and YouTube videos.
Step 1: Install Audacity
Open Terminal and type:
sudo apt updatesudo apt install audacity -y
Audacity is lightweight and perfect for voiceovers and podcasts.
Step 2: Install Ardour (Pro DAW)
If you want more professional multitrack support, install Ardour:
sudo apt install ardour -yStep 3: Plug in Your Mic or Audio Interface
-
USB microphones (like Blue Yeti) are plug-and-play.
-
For XLR mics, use an audio interface (Focusrite, Behringer, etc.).
-
Select the input in Audacity/Ardour preferences.
Step 4: Optimize Audio
-
Record at 44.1 kHz / 16-bit (standard for YouTube & podcasts).
-
Use headphones to monitor while recording.
-
Add a noise gate or EQ to clean up audio.
🎯 Pro Tip: Save your audio files on an external SSD for faster read/write speeds.
🎬 Editing Video with Kdenlive
Once your voice tracks are ready, it’s time to bring them into video editing.
Step 1: Install Kdenlive
sudo apt install kdenlive -yStep 2: Import Media
-
Drag in your video clips, audio tracks, and images.
-
Drop your voiceover into the timeline.
Step 3: Basic Editing
-
Use the razor tool to cut unwanted parts.
-
Add transitions (fade-in/out, cross-dissolve).
-
Overlay text for titles, lower thirds, and captions.
Step 4: Export Settings for YouTube
-
Format: MP4 (H.264 codec)
-
Resolution: 1080p (1920×1080)
-
Bitrate: 8,000 kbps
-
Audio: AAC, 320 kbps
🎯 Pro Tip: Keep projects lightweight — avoid stacking too many effects, since the Pi 5 isn’t a powerhouse GPU.
💡 Workflow Example: Recording + Editing on Pi
-
Record a podcast intro in Audacity.
-
Clean the audio with noise reduction + EQ.
-
Import into Kdenlive along with video footage.
-
Sync audio with video.
-
Add B-roll, transitions, and titles.
-
Export to YouTube.
All on a device the size of a credit card.
🚀 Performance Tips
-
Use an SSD instead of the SD card for faster rendering.
-
Overclock the Pi 5 if you’re comfortable with extra performance (optional).
-
Close background apps to free up RAM.
-
Stick to 1080p projects for best stability.
-
Enable hardware acceleration in Kdenlive settings.
📊 Pros & Cons of Raspberry Pi 5 for Creators
✅ Pros
-
Extremely budget-friendly
-
Portable studio
-
Runs free, open-source tools
-
Great learning platform
-
Low power consumption
❌ Cons
-
Limited performance for heavy 4K projects
-
Longer render times vs. desktops
-
Requires Linux know-how for troubleshooting
🌍 Who Is This Setup For?
-
YouTubers making tutorial, voiceover, or talking-head videos.
-
Podcasters who want a portable studio.
-
Musicians creating demos or electronic tracks.
-
Students & Hobbyists experimenting with low-cost production.
-
Preppers & Minimalists who want a backup studio that fits in a bag.
🌟 Final Thoughts
The Raspberry Pi 5 proves you don’t need expensive gear to start recording and editing. With the AT2020 microphone setup, Scarlett Solo interface, 32″ monitor, and a clean ergonomic desk, I’ve been able to create a budget-friendly but highly functional creative studio.
If you’re a YouTuber, podcaster, or beginner musician, this setup is affordable, efficient, and fun to use. Plus, it’s all open source — meaning you own your workflow without being locked into expensive software licenses.
👉 Ready to start? Grab a Raspberry Pi 5, your favorite mic, and start creating today.
📦 My Raspberry Pi 5 Studio Gear List
|
Product |
What I Use It For |
Link |
|---|---|---|
|
Raspberry Pi 5 (8GB RAM) |
Main computer for DAW + video editing |
|
|
Audio-Technica AT2020 (XLR Condenser Mic) |
Professional vocal recording |
|
|
YOUSHARES AT2020 Shock Mount |
Reduces vibration & handling noise |
|
|
AT2020 Boom Arm Stand w/ Pop Filter (SUNMON) |
Mic positioning & pop protection |
|
|
Focusrite Scarlett Solo 4th Gen |
Audio interface for clean, low-latency recording |
|
|
ViewSonic VA3209M 32″ IPS Monitor |
Large editing display |
|
|
HLDIRECT 63″ Gaming Desk w/ LED Lights |
Spacious ergonomic workstation |
|
|
Samsung T7 Portable SSD |
Fast storage for audio/video projects |
|
|
SanDisk Extreme Pro microSDXC |
Boot drive for Raspberry Pi OS |
|
|
Audio-Technica ATH-M40x Headphones |
Balanced monitoring for mixing |
|
|
Sony MDR-7506 Headphones |
Accurate studio reference headphones |
Check out my YouTube channel where I demonstrate this exact setup in action.

